DocTrack

DocTrack
DocTrack is a secure, multi-tenant Patient Data Management System and Electronic Medical Record (EMR) portal designed for independent clinics and practitioners. The platform establishes isolated clinical workspaces, enabling secure patient registration, structured visit timeline tracking, and media document storage.
DocTrack includes an integrated clinical assistant pipeline powered by Large Language Models (LLMs) to automate structured SOAP note formatting, history timelines synthesis, and lab report optical character recognition (OCR).
User Interface Preview
Explore the user interface screens of DocTrack:
Secure Login Screen
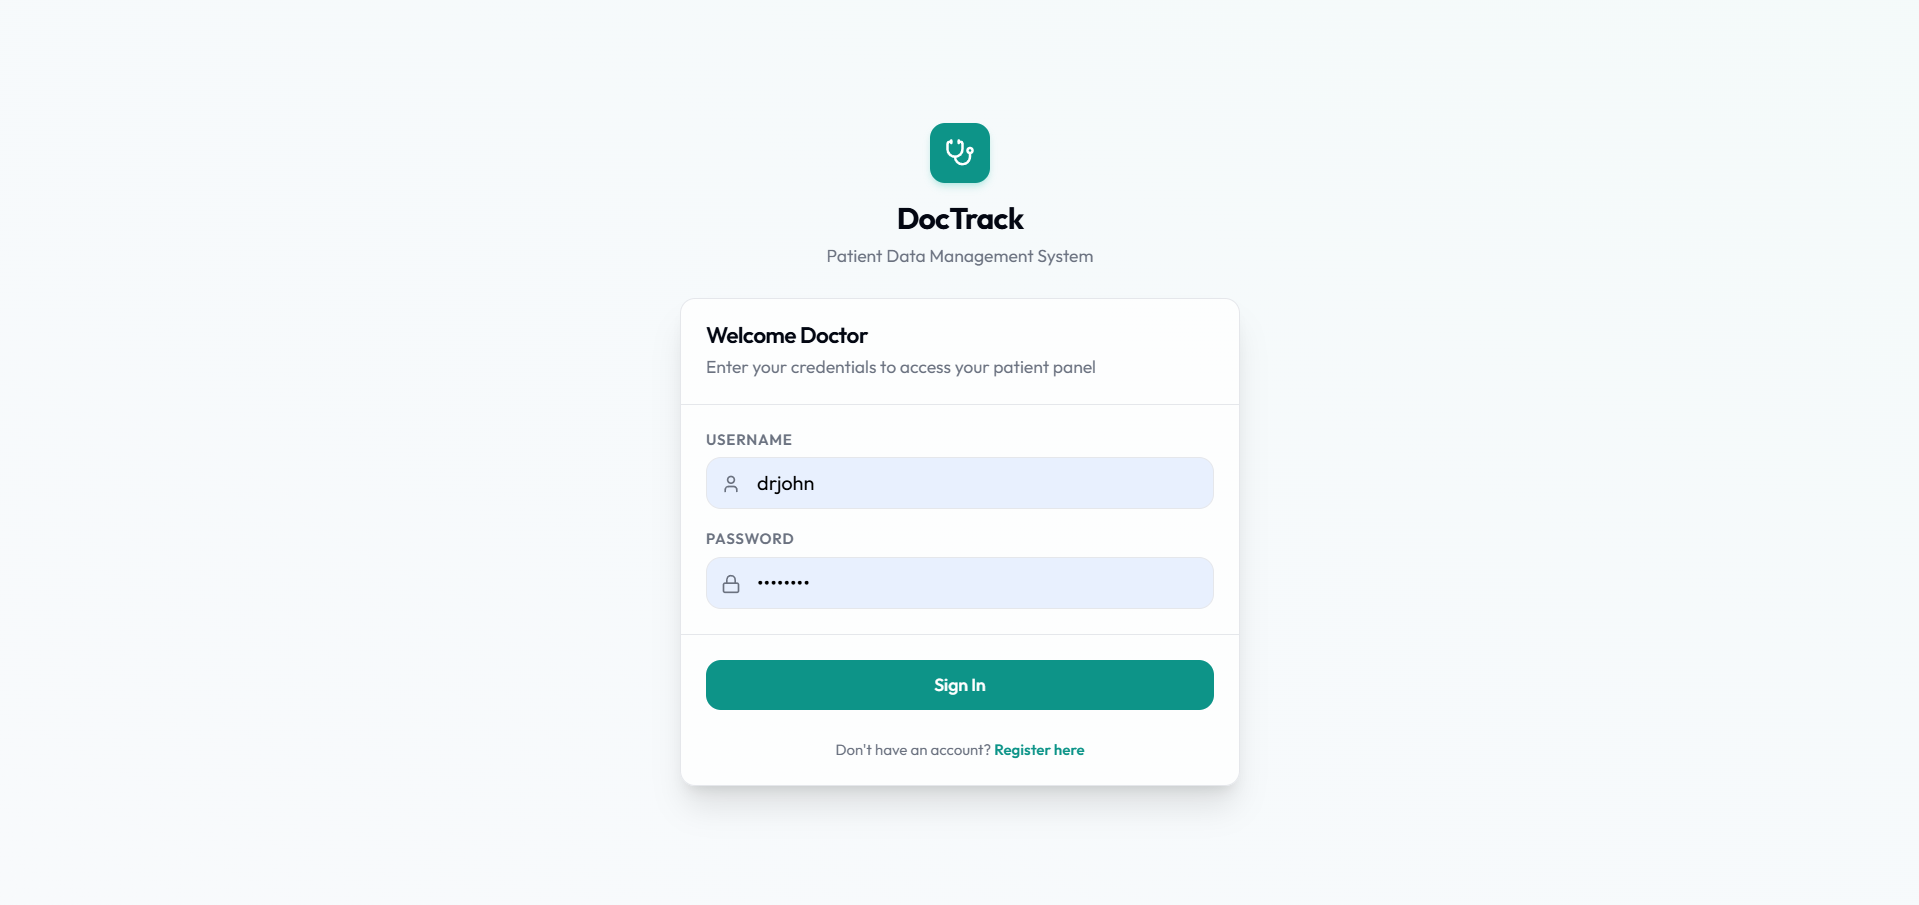 Secure practitioner entrance to access doctor-owned patient files.
Clinical Dashboard
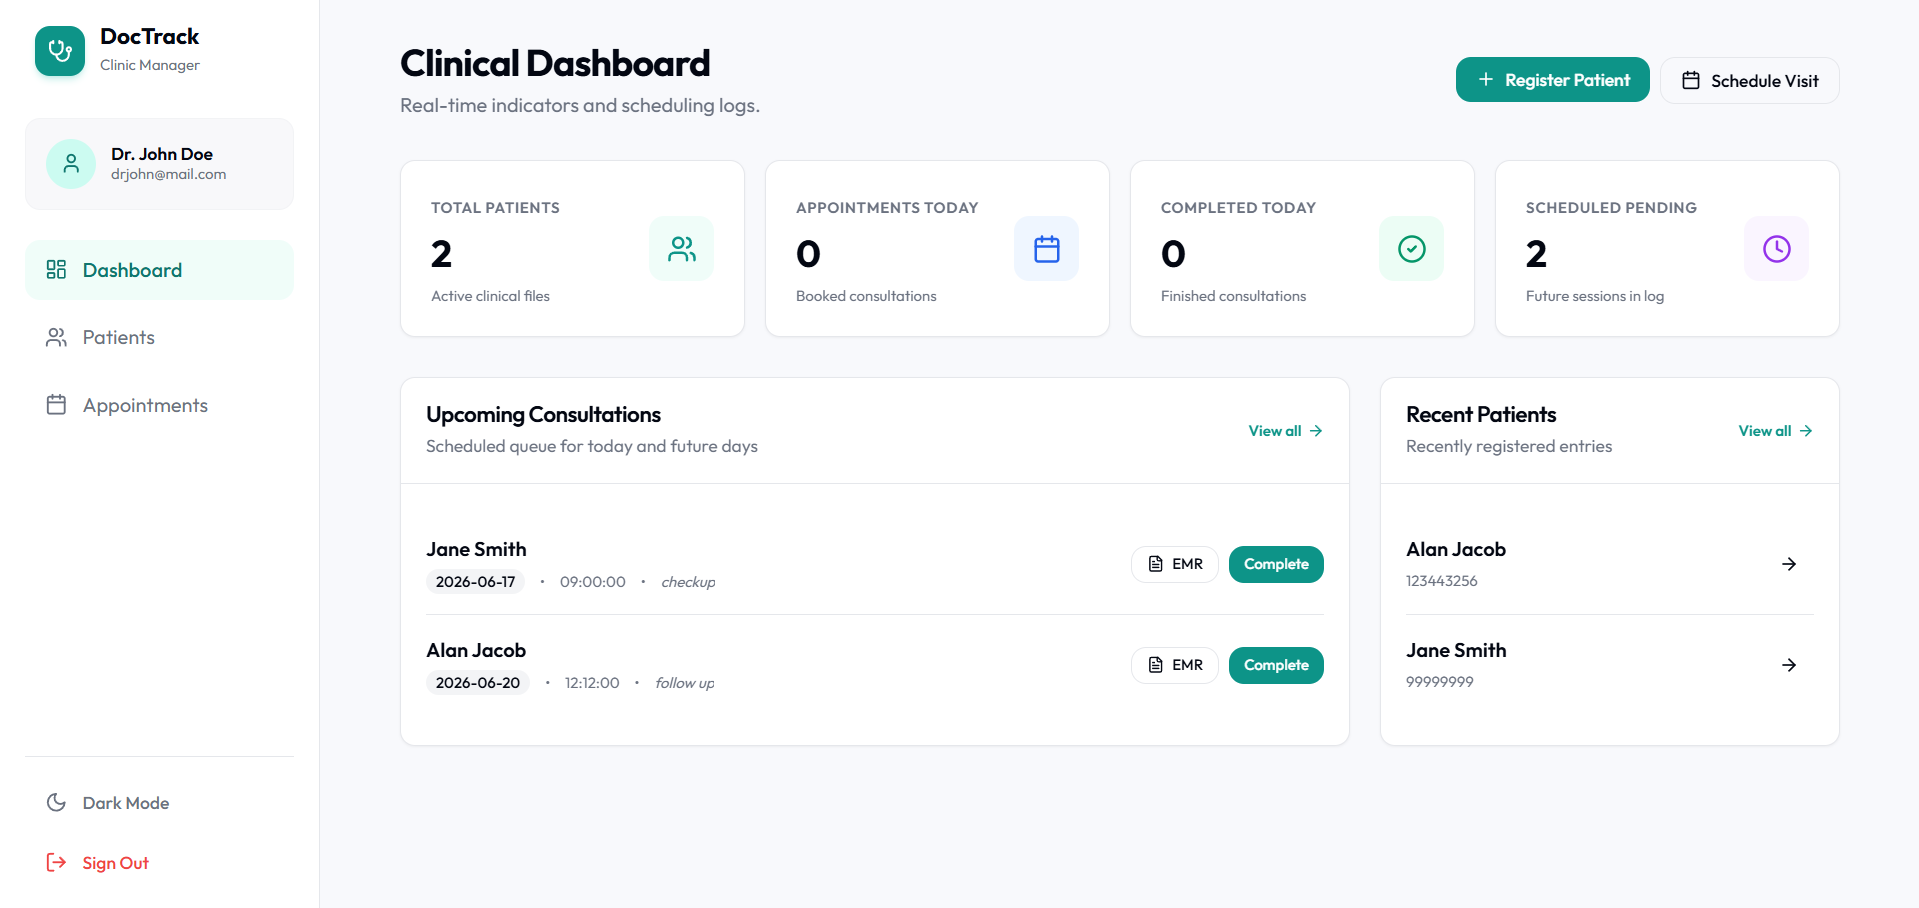 Real-time statistics metrics showing total patients, today’s appointments, completed visits, and active consultation queues.
Patient EMR Directory
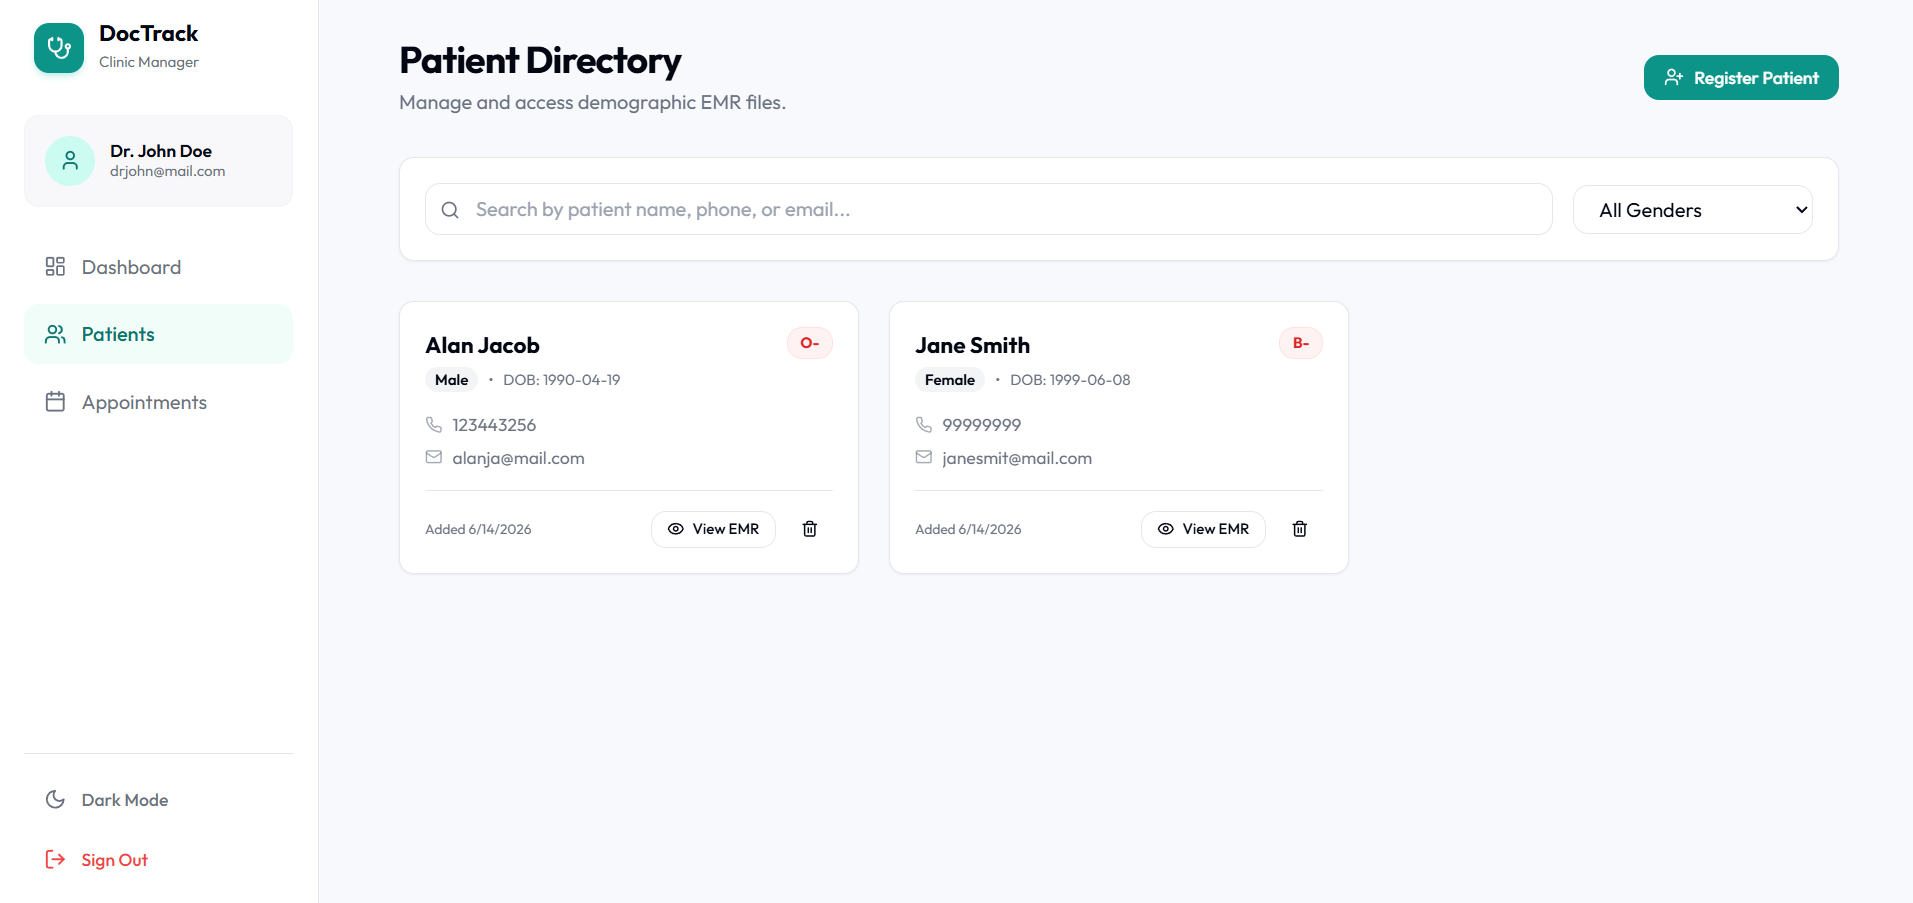 Roster view of all active clinic patient files with search and gender filtering.
Patient Registration Form
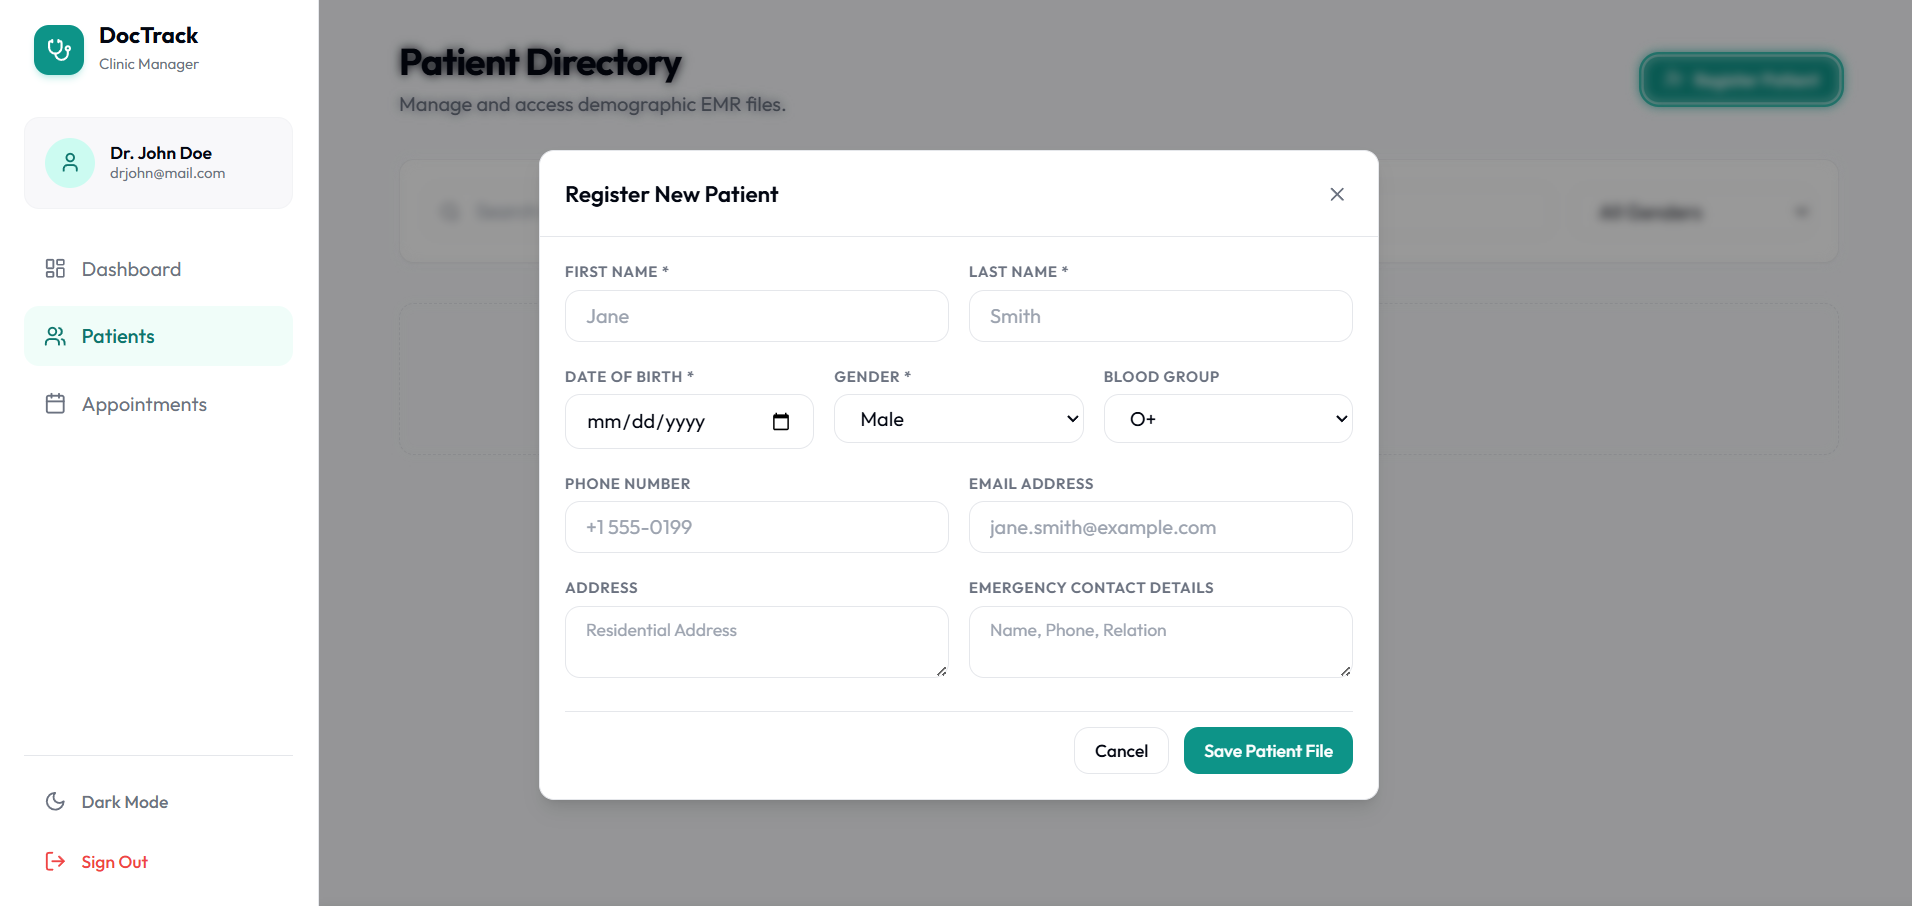 Demographics entry card to register new patients and collect contact details.
Patient EMR History & Timeline
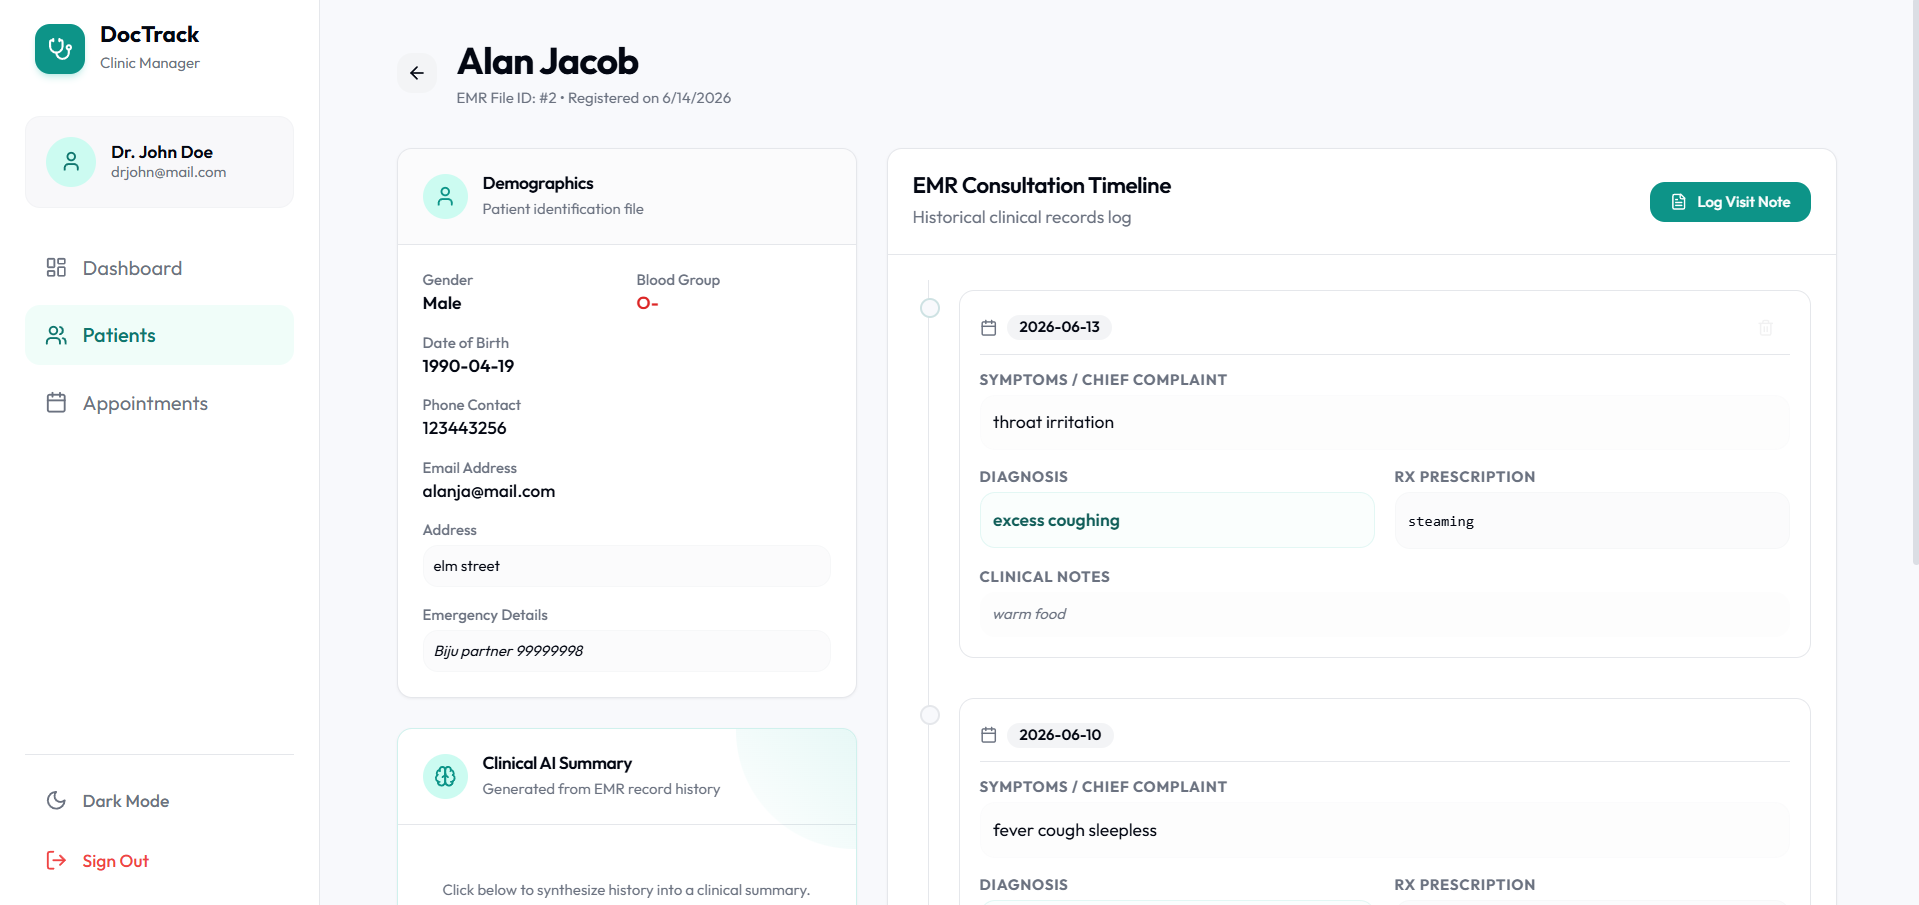 Comprehensive visit timeline displaying symptoms, diagnoses, prescriptions, and media attachment vaults.
Clinical AI Summary Panel
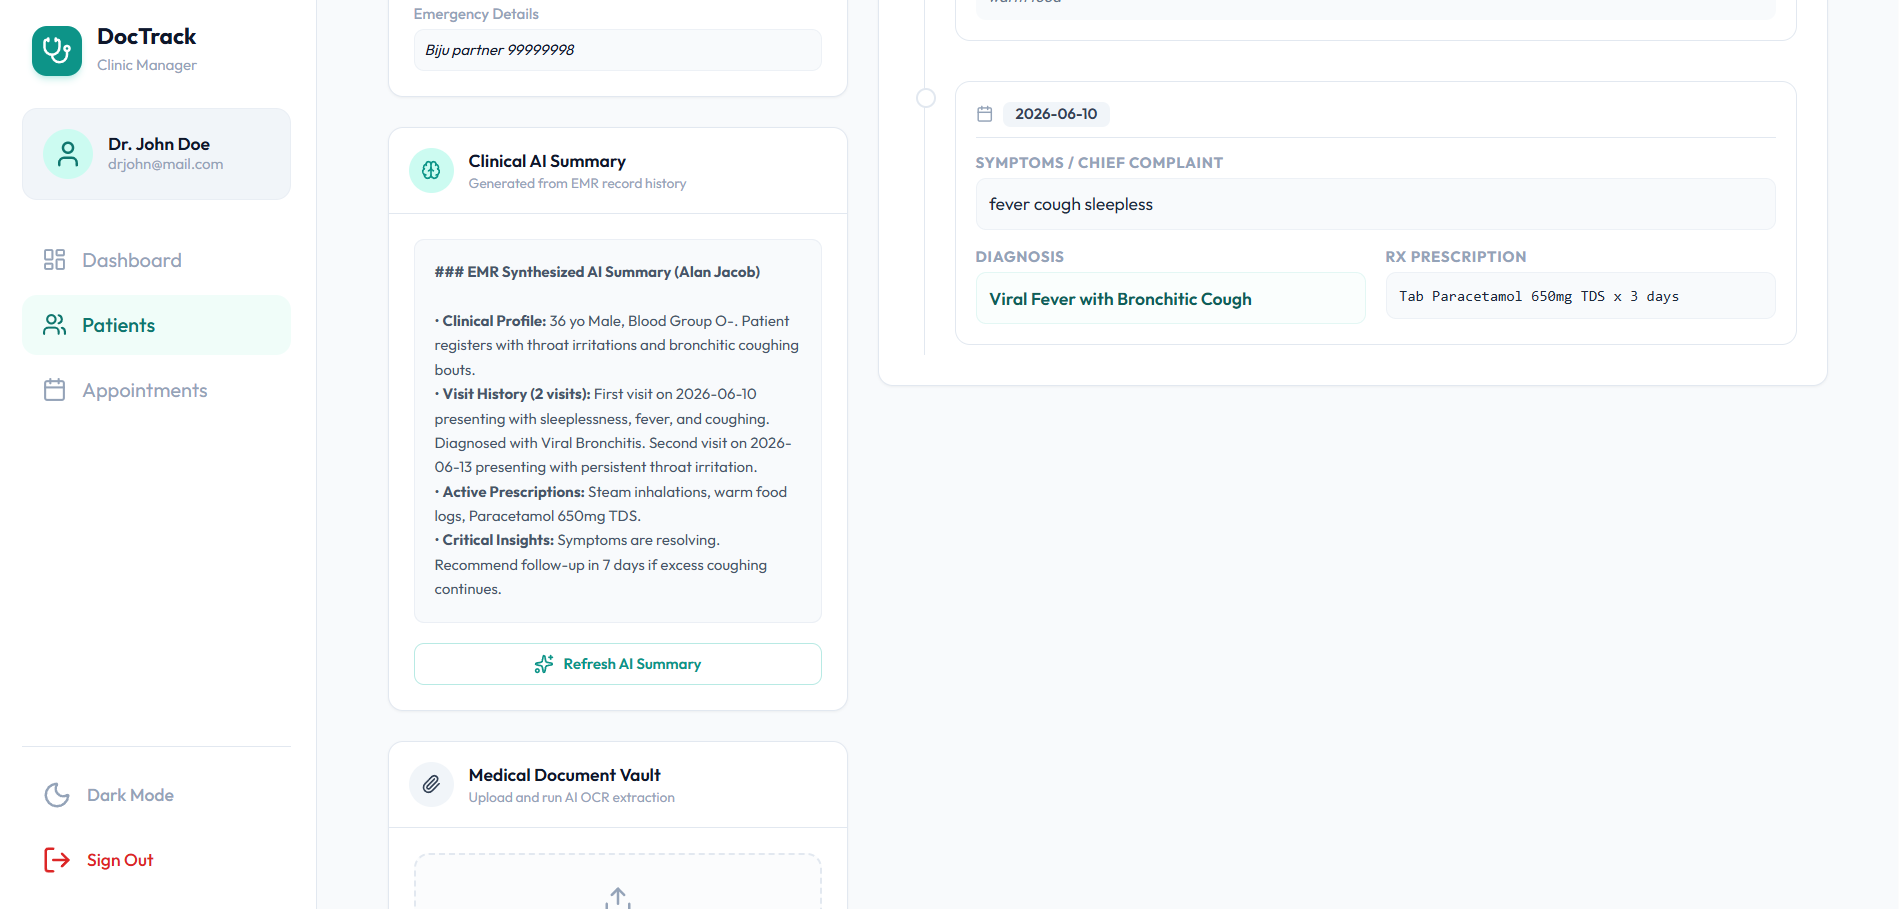 Synthesized EMR clinical history overview generated dynamically.
Appointments Calendar
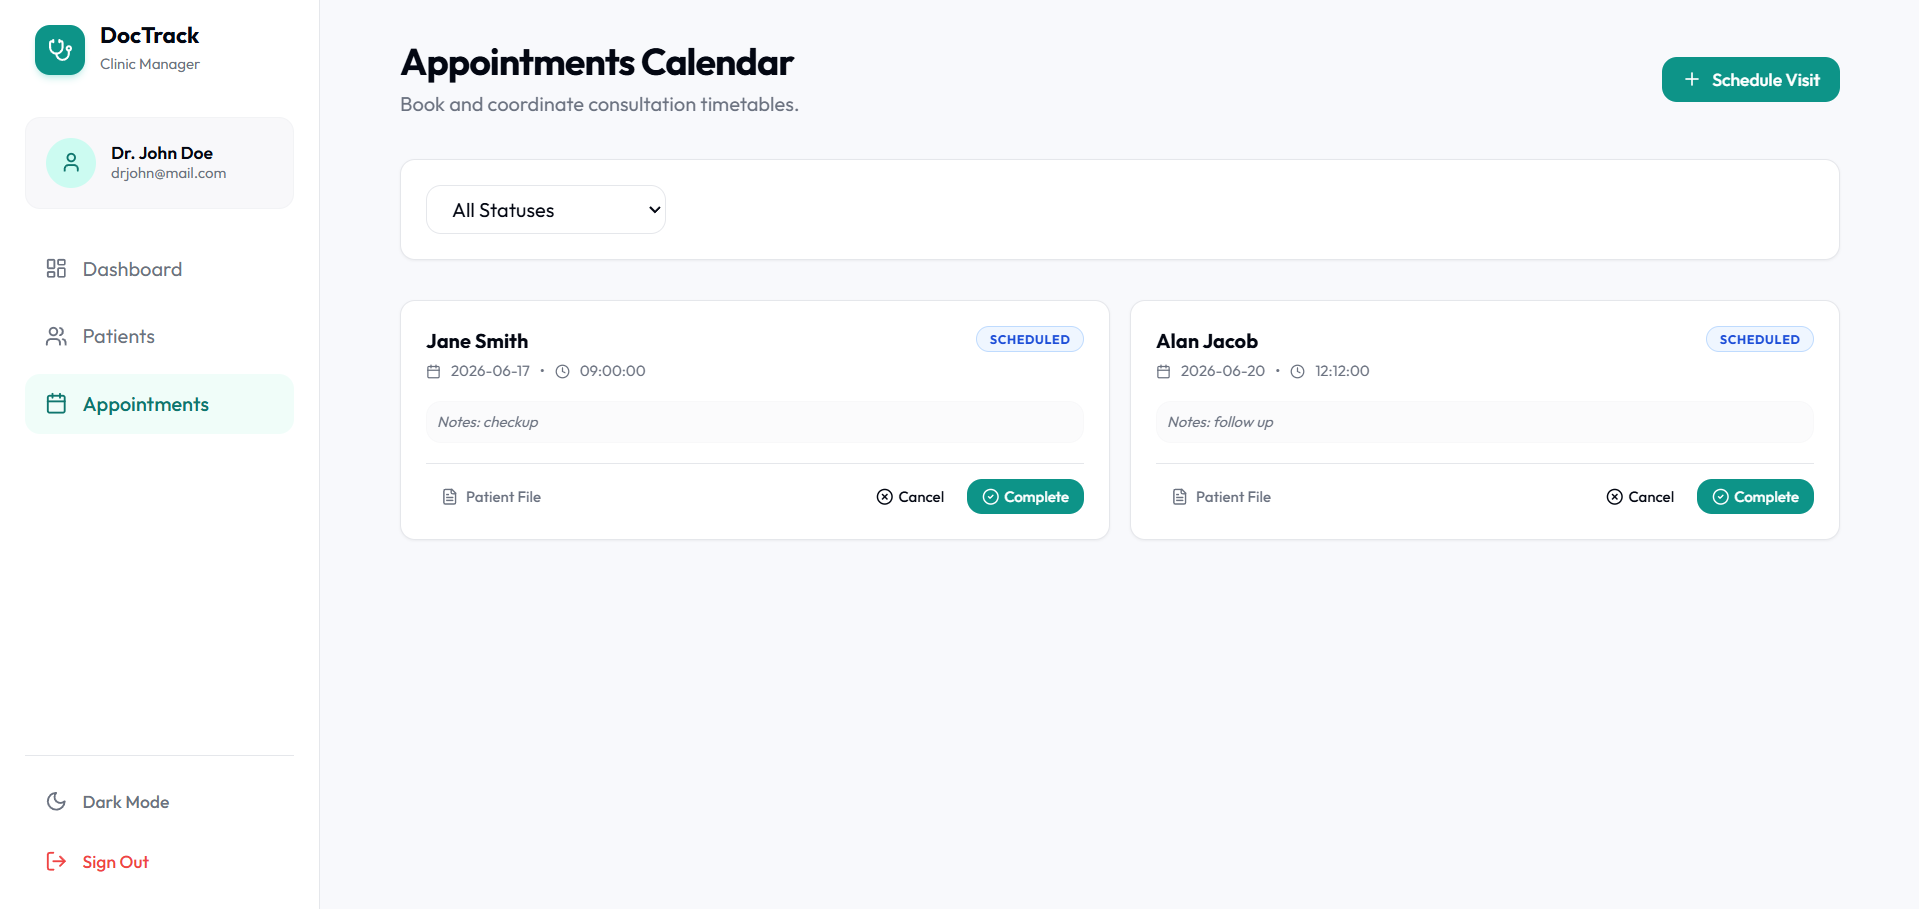 List view to schedule, reschedule, complete, or cancel patient visits.
Key Features
- Secure Doctor Authentication: JWT-based session controls (
djangorestframework-simplejwt). - Strict Tenancy Isolation: Multi-doctor isolation ensures each practitioner can only query, modify, or view their own registered patients and appointments.
- Demographics EMR Vault: Full CRUD logs with cascading soft-delete (automatically cancels future appointments on patient deletion).
- EMR Visit Timeline: Visual timeline log displaying visit dates, symptoms, diagnoses, prescriptions, and custom follow-up notes.
- Appointment Scheduler: Custom appointment calendar showing scheduled, completed, and cancelled visits.
- AI Clinical Assistant (Gemini API Integration):
- SOAP Formatter: Auto-formats doctor visit shorthand scribbles into formatted SOAP summaries.
- Clinical EMR Summarizer: Synthesizes historical patient visit records into a singular clinical summary.
- Multimodal OCR: Processes prescription/lab images and extracts medical entities directly into the consultation note fields.
- Mock Fallback Mode: Seamless local testing even without active Gemini keys.
Technology Stack
Backend
- Django 5.x & Django REST Framework (DRF)
- SimpleJWT (JWT Authentication)
- Neon PostgreSQL (Production) / SQLite (Local development)
- Cloudinary (Secure medical report storage)
- Google Generative AI (
gemini-1.5-flashmodel integration) - drf-spectacular (Interactive Swagger & Redoc OpenAPI specs)
Frontend
- React 19 & Vite & TypeScript
- Tailwind CSS (Custom theme configurations)
- TanStack React Query v5 (Server state management & polling)
- React Router v7 (Secure SPAs routing)
- Lucide React (Vector icons)
Project Directory Structure
DocTrack/
├── backend/                 # Django EMR API
│   ├── doctrack/            # Settings and root urls
│   ├── api/                 # EMR models, serializers, views, and AI logic
│   ├── requirements.txt     # Python dependencies
│   └── .env.example         # Environment credentials template
│
└── frontend/                # React Vite SPA Client
    ├── src/
    │   ├── components/      # UI Shell Layout and custom components
    │   ├── context/         # AuthContext JWT session management
    │   ├── pages/           # Pages (Dashboard, Patients, Appointments, Details)
    │   └── services/        # Axios API client interceptors
    ├── tailwind.config.js   # Theme design tokens
    ├── vercel.json          # SPA rewrite rules
    └── .env.example         # Client API url template
Local Quick Start
Prerequisites
- Python 3.11+
- Node.js 18+ & npm
1. Backend Setup
- Navigate to the backend directory:
cd backend - Create and activate a Python virtual environment:
python -m venv venv # On Windows (PowerShell): ..\venv\Scripts\activate # On macOS/Linux: source ../venv/bin/activate - Install dependencies:
pip install -r requirements.txt - Configure environment secrets:
- Copy
.env.exampleto.env - (Optional) Add a
GEMINI_API_KEYor Cloudinary keys. If left blank, mock engines will run automatically.
- Copy
- Apply database migrations:
python manage.py migrate - Start the API server:
python manage.py runserverThe Swagger OpenAPI specifications are accessible at
http://localhost:8000/api/schema/swagger-ui/.
2. Frontend Setup
- Navigate to the frontend directory:
cd frontend - Install package node modules:
npm install - Configure environment variables:
- Copy
.env.exampleto.env
- Copy
- Start the local client development server:
npm run dev
Live Deployment
The system is configured for cloud environments and deployed on the following infrastructure:
- Backend API: Python WSGI server served by Render
- Frontend Client: Single Page Application (SPA) served by Vercel
- Database: Managed PostgreSQL instance provisioned on Neon
- Medical Document Vault: File storage API managed by Cloudinary
License
This project is licensed under the MIT License.